How to Create a Logo
Logos are simple, right? They're often just a few letters or a shape. How hard could it possibly be to create a good one? This is a common misconception, however, there is a lot of background work that goes into designing a logo. If you've read our first two posts in the branding series you'll see that first an ideal customer profile should be established as well as a mood board. Even after these two stages are complete, you won't instantly have a concept for your logo. Usually a designer will create dozens of logo concepts and go through several rounds of revisions before selecting their favourite concepts to present to the client.
Your logo is the face of your brand so it's very important that it represents your brand accurately and in a way which is appealing to your ideal customers. In this blog post we step you through the process we go through when creating a logo. We usually recommend that this process is best left to a designer, however, if you feel confident in your design abilities this blog post will provide some useful tools and tips to help you create the perfect logo for your brand. If you are going through a designer, having insight into their process will help you provide better input and feedback. After all, designing a logo is always a two-way street. Your feedback and input will have a big part to play in the end result.
Step 1: Look for inspiration
If you've read our other blog posts you may have realised that we're a little obsessed with Pinterest! When it comes to gathering inspiration for logo designs, it is one of the most useful tools you can use. If you followed our process and created your mood board you would have written down a list of adjectives that best described your brand. Key these into Pinterest followed by the words "logo design". E.g., 'Friendly logo design' or 'Quirky logo design'. Look for logo designs that would appeal to your ideal customers and fit with your mood board. Create a new board in Pinterest and pin any logo designs that meet the above requirements to your board. Once you're done, look over the logos you've pinned and narrow them down to your top ten.
Step 2: define what it is you like about the inspiration
Now that you've got some inspiration, it's time to focus on why these designs resonated with you in the first place. What is it that you like about them? Go through each design individually and ask yourself the following questions (if possible, write down your answers):
Is the logo text based, image based or a mix of both?
Are the shapes and fonts used in the logo thin, regular, cursive or bold?
Is the logo complex or simple?
Vertical or horizontal?
Square or circle?
Modern or classic?
Is there anything else about the logo that appealed to you?

Step 3: Break them into categories
The next step is to look for similarities between the logos and group them into three different categories.
Examples of the categories could be:
Simple and classic text based logos
Simple and classic image based logos with text
Complex image based logos with text.
Remember to choose categories that would align with your brand mood board and appeal to your ideal customers.
Step 4: Start designing concepts for each category
Now the fun part begins! It's time to start designing concepts for each of your three categories.
Some helpful tips for this stage:
At this stage we find it best to open up an A4 Photoshop or Illustrator file and start creating dozens of different concepts on the one file. This way you can compare your concepts and continue to refine them.
Start by designing any ideas that come to mind. They don't need to be perfect at this stage, just experiment and see what you come up with.
Draw on inspiration from the answers you wrote down in step two, incorporating more of the elements that appealed to you.
If creating text based logo concepts:
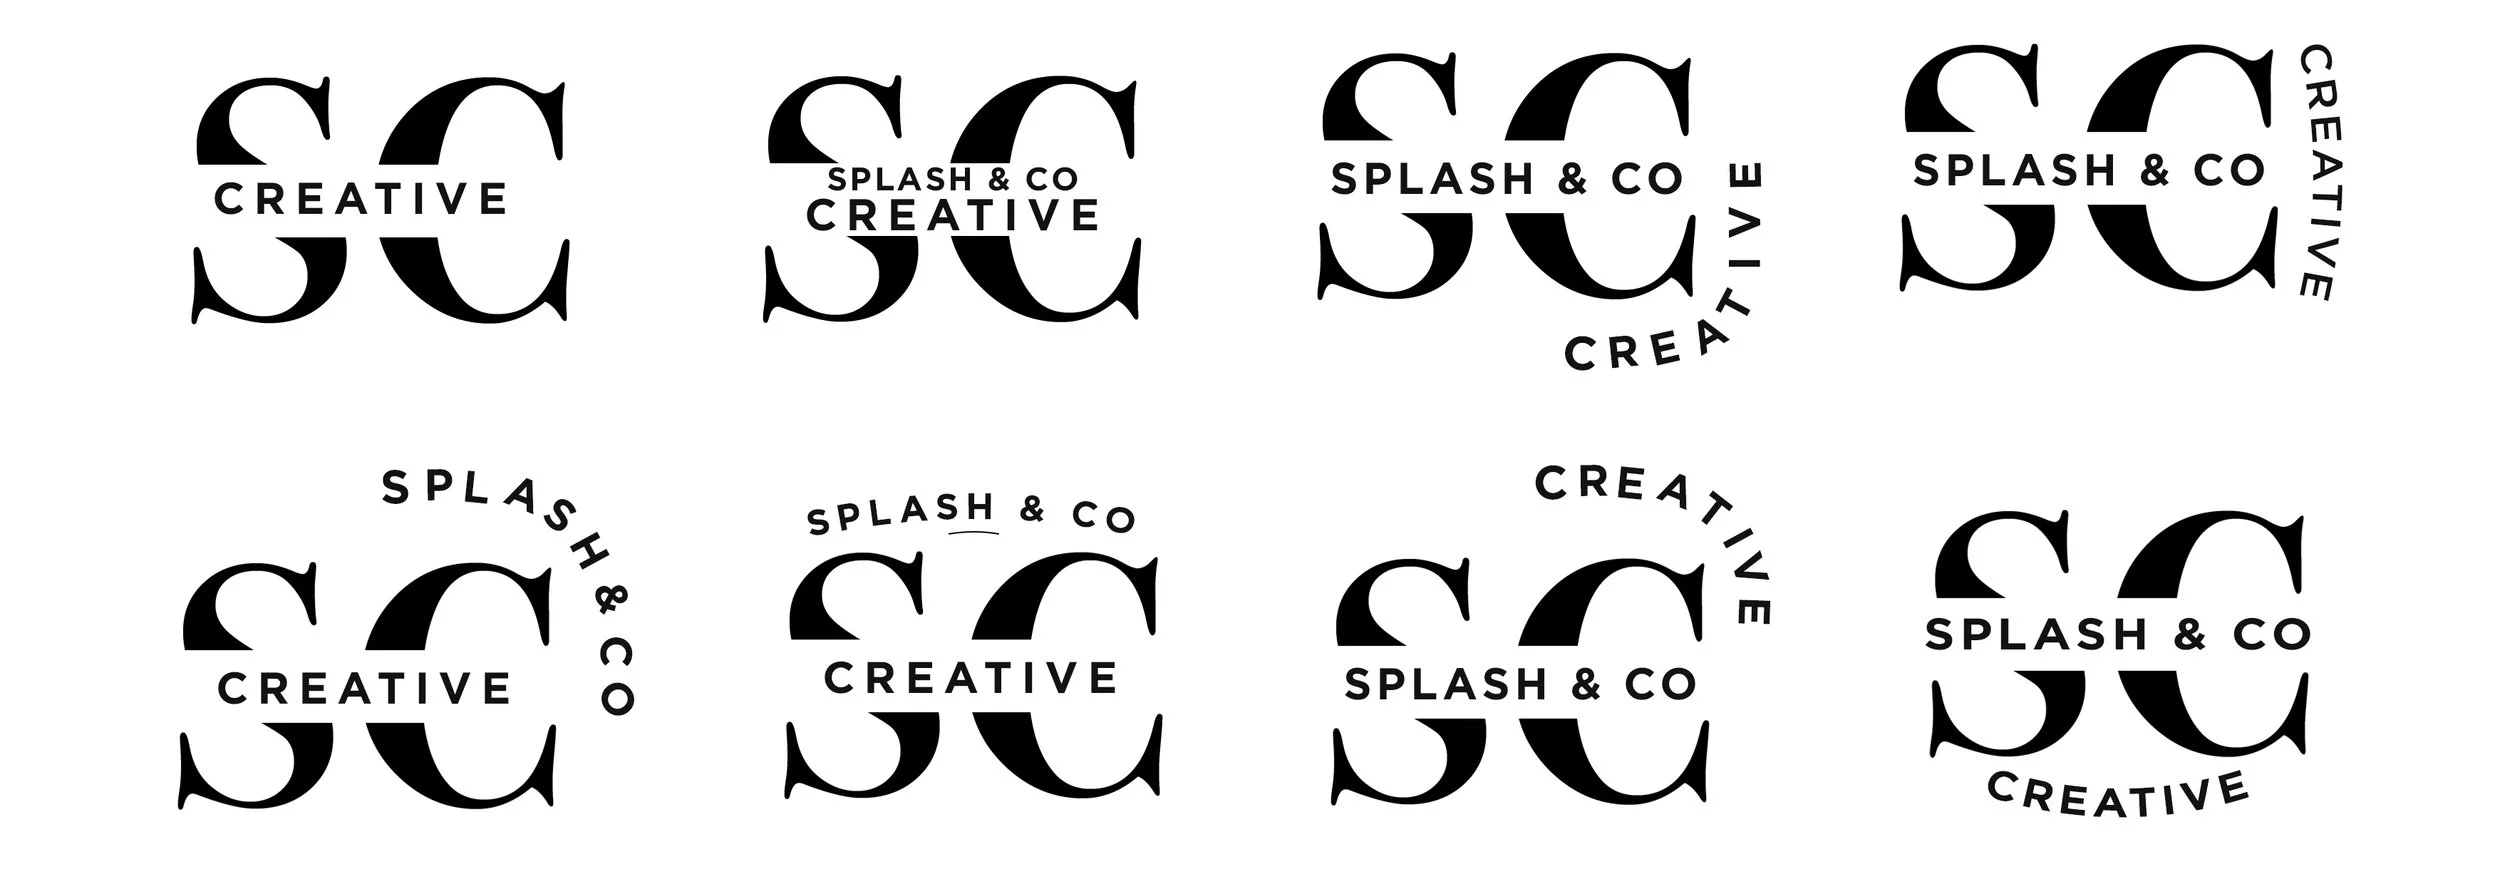
Try different concepts using the brand initial/s as well as the full brand name.
There are many great free font websites you can use. Here are some of our favourites: Google fonts, Font squirrel and FontSpace. Check that the font is free for commercial use before using it and if not, contact the owner or a licence.
Keep your brand mood board and ideal customer in mind when choosing your fonts. If you want to appeal to a modern and trendy customer, then choose a modern and trendy font.
If creating image based logo concepts:
Try working in shapes from the brand name letters.
Try incorporating shapes from the brand adjectives you wrote down when you created your mood board. For example, if one of your brand adjectives is friendly you could incorporate shapes that resemble a smile.
During this process, make sure you are always keeping your brand mood board and ideal customer profile/s visible.
Step 5: Refine your concepts and Add taglines (if required)
This is where you can refine your favourite concepts, focusing on the detail and choosing a colour scheme. In our next blog post we will explore choosing the right colour scheme for your brand so you may want to combine these two stages or come back to the colour scheme at a later date. If the client has a tagline, we would also add it at this stage. When adding a tagline, use a simple font that won't draw attention away from your logo. Also, keep your tagline to 1/4 of the size of your logo.

Step 6: PICK the best concept for each category
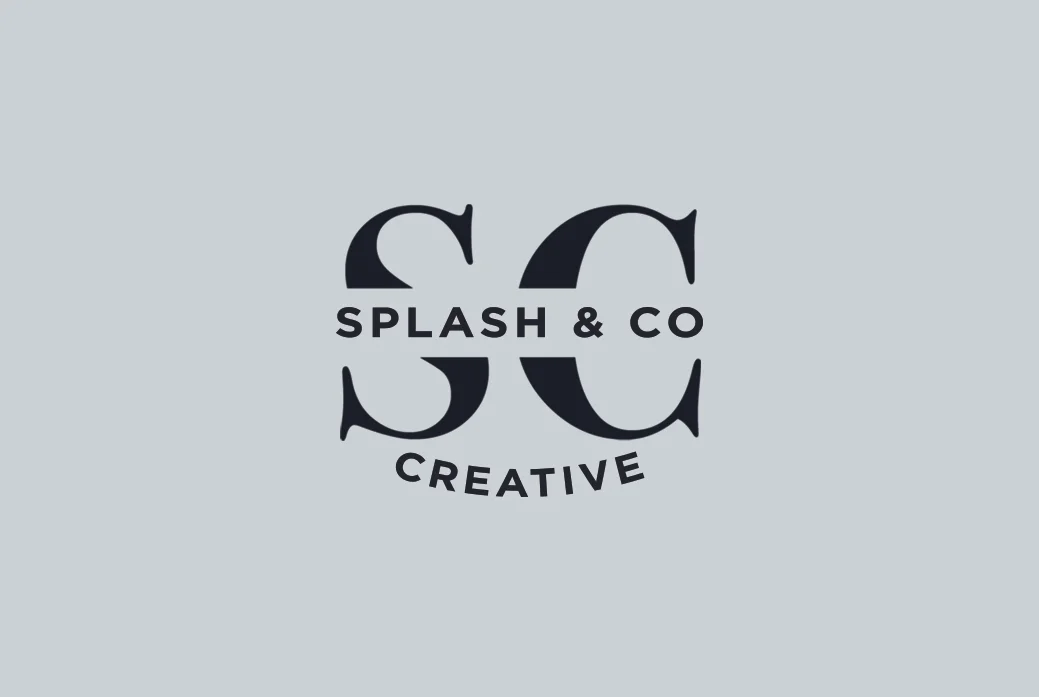
At this stage we would choose our favourite concept from each category to present to the client (a total of 3 concepts).
Some tips when choosing your best concepts:
Place them on the mood board and across other brand material like business cards or letterheads to see how they tie in.
Ask yourself the following questions about each concept:
Does it support your brand message?
Will it appeal to your ideal customers?
Is it distinctive and memorable?
Will it stand out from the competition?
Will it work across different media?
Will it work in black and white?
Once we've chosen our top three, we present them to our clients along with the background idea behind each concept, what it represents and how we came up with it. It is then up to the client to choose the final concept. If you are choosing the final concept for your own brand, it's a good idea to show it to friends and family at this point and get their feedback.


Step 7: organise the final files
Once the client has chosen the final concept, we then discuss with them which file formats and other iterations of the logo they may need. For example, they might need the logo in both horizontal and vertical dimensions to fit on different marketing material. We then provide them with a folder of all the different file formats and iterations they require.
And there you have it! Now you have an understanding of the process we go through when designing a logo. Next up, choosing the right colour schemes and fonts for your brand. Stay tuned!